A Pine and Plywood Rolling Bar Cart
- Hands on
- 290 min
- Start to finish
- 20 hours
- Level
- moderate
- Makes
- one two-tier rolling cart, 500 x 350 x 720mm
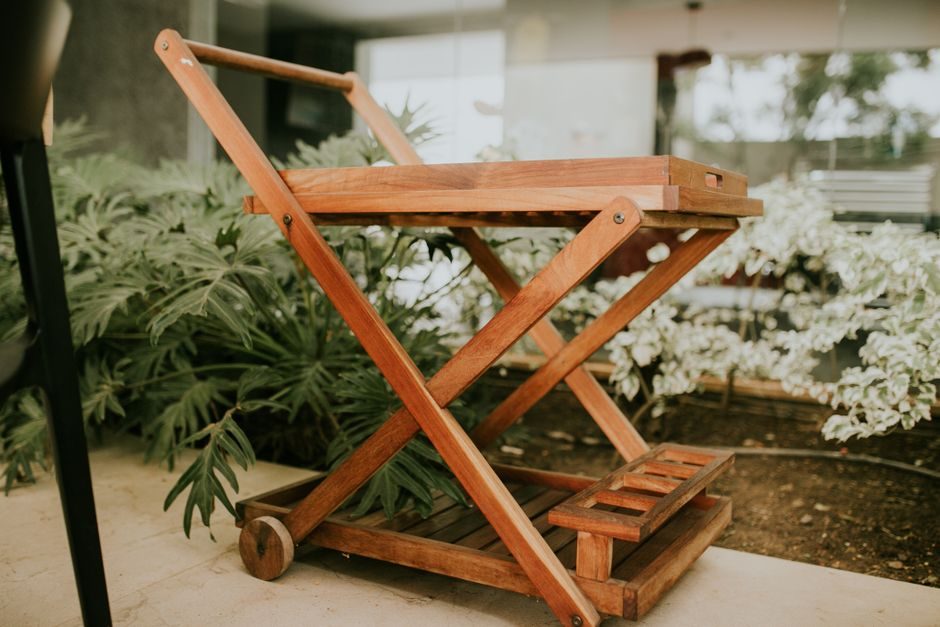
This is a post-and-apron frame on four locking castors, carrying two plywood shelves. The top one gets a low rail around three sides to keep bottles and glasses from sliding off in transit; the bottom one is left open for whatever needs moving. Nothing about the joinery is fussy — it is glued and screwed apron frames, sized to a half-sheet of plywood so there is almost nothing left over.
What you need
Step by step
-
Cut the four legs to 680mm from the 44 x 44mm stock on the mitre saw, squaring each end.
15 min -
Cut the apron rails to length: four long rails at 412mm and four short rails at 262mm, enough for a top frame and a bottom frame.
15 min -
Mark the bottom frame position 80mm up from the foot of each leg, then clamp the four bottom rails to the legs dry and check the frame is square before committing to glue.
20 min -
Glue and screw the bottom apron frame to the legs, pre-drilling and countersinking each rail into the leg face so it can't split.
30 min -
Repeat for the top frame, flush with the top of the legs, then stand the base up and check it doesn't rock on a flat floor before the glue goes off.
30 min -
Cut the two shelf panels to 412 x 262mm from the plywood sheet on the table saw, supporting the sheet so the offcut can't tip as it clears the blade.
25 min -
Ease the top edges of both panels with a block plane or sanding block so they don't bite into a hand reaching over them.
15 min -
Drop the shelves into the two frames and fix each one up through the apron rails from underneath, so no screw heads show on top.
20 min -
Mitre the gallery rail moulding to fit three sides of the top shelf, leaving the front edge open for loading, then glue and pin it down.
30 min -
Sand the whole cart through the grits, finishing at 180, and round over any sharp arrises.
30 min -
Apply a first coat of hardwax oil, let it cure, then apply a second coat.
20 min -
Stand the cart upside down on a blanket, mark the castor positions inset from each leg foot, and bolt the castors on, locking the two at one end.
30 min -
Stand it up, load it empty, and roll it across the room before it carries anything, checking nothing racks or squeaks.
10 min
Afterwards
Let the hardwax oil cure fully — at least 24 hours, longer in a cold workshop — before loading the shelves. Wipe up spills from the gallery rail promptly so they don't sit in the corner joints and lift the finish. Once it's rolling over doorsteps and uneven floors, check the castor bolts for play every few months and retighten.
Questions
Will the castors mark a wood or vinyl floor?
Not if you buy rubber-tyred castors rather than hard plastic ones, even loaded. Hard plastic wheels can leave black scuff marks on vinyl.
Is 12mm plywood strong enough for the shelves?
Yes, for bottles and glassware over a 412 x 262mm span. If you plan to load it with cast iron or large planters, go up to 18mm ply or add a centre support rail.
Why lock only two of the four castors?
Locking the pair at one end lets the cart park square against a wall or counter without drifting, while the free pair at the other end still swivels for steering.
Can I make it taller to use as a kitchen island?
Yes — add the height to the legs rather than spacing the shelves further apart, and recheck it isn't top-heavy before loading it. Past about 850mm a loaded top shelf gets noticeably less stable on castors.