A Plywood Cat Scratching Post With a Sisal-Wrapped Column
- Hands on
- 220 min
- Start to finish
- 15.7 hours
- Level
- moderate
- Makes
- one two-tier scratching post, about 760mm tall
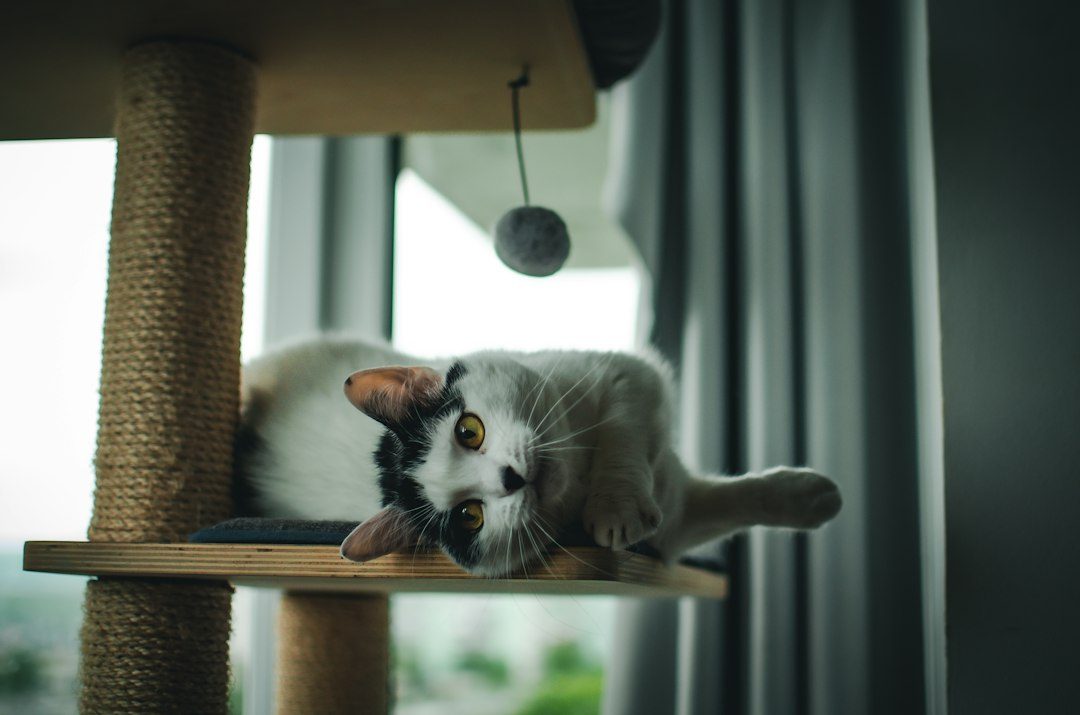
A scratching post only works if it doesn't move the first time a cat uses it, so the base carries more weight than the job looks like it needs. This one pairs a doubled-up plywood base with a single sisal-wrapped post and a carpeted platform on top — no dovetails, no complex joinery, just enough mass low down to keep it upright under a jumping cat.
What you need
Step by step
-
Cut the post to length on the miter saw — 90 x 90mm, squared off against the fence, cut down to 760mm.
10 min -
Mark two 450 x 450mm squares and a 380mm-diameter circle on the plywood sheet (a strip of card pinned at the centre makes a simple trammel for the circle), then cut the two squares to size.
20 min -
Cut the platform circle on the jigsaw, working slowly around the curve per the safety note above, then true the edge with the random orbit sander.
25 min -
Glue the two base squares face to face, offsetting the screw positions between layers, and clamp until the glue sets.
15 min -
Find the centre of the base and drill a pilot hole through both layers and into the underside of the post. Glue the post's base end, then drive the coach screw up through the base to fix it.
20 min -
Starting about 80mm up from the base, glue the end of the sisal rope to the post with exterior wood glue and wrap it tightly up the post, pressing each turn against the one below so no bare wood shows. Stop about 80mm short of the top.
60 min -
Glue the rope's cut end down and hold it with a couple of staples from the staple gun until the glue grips.
10 min -
Drill pilot holes through the platform's centre into the post's top end, then glue and screw the platform down, countersinking the screw heads below the surface.
15 min -
Cut carpet to wrap the base — top and sides — and a separate circle with a margin for the platform. Glue it down with contact adhesive, holding the edges with the staple gun while it sets, then trim flush once cured.
45 min
Afterwards
Vacuum the sawdust off before gluing — resin bonds poorly to dust. Let the wood glue joints, post-to-base and platform-to-post, cure for a full 24 hours, and let the contact adhesive on the carpet set for the time stated on the tube, before letting a cat near it. After the first week of use, check the coach screw under the base is still tight; vigorous climbing works fasteners loose, and a loose base is what makes these tip.
Questions
Why double up the base instead of using one thick sheet?
Weight and footprint. A single 18mm layer doesn't carry enough mass low down to stop a 760mm post tipping when a cat lands on the platform; doubling it lowers the centre of gravity and adds the weight that keeps it planted.
Can I make the post taller?
You can, but tipping leverage grows with height. Past about 900mm, add a third plywood layer to the base or widen it, or the platform will tip the first time it's used.
Why sisal rope and not a synthetic substitute?
Sisal's stiff fibres fray and catch under a cat's claws, which is the point. Synthetic rope is too slick to grip and won't shred the way sisal does.
What carpet should I use?
A cut-pile or needle-felt remnant. Loop-pile carpet catches claws, which is uncomfortable for the cat and will eventually pull the loops out.